Showing posts with label Crafts. Show all posts

Saturday, August 1, 2015

Junk Room to Toy Room

Once upon a time, we had a guest bedroom upstairs. We rarely have guests, so the room somehow morphed into a junk/catch all type of room. And. It. Was. Bad. The picture below was taken after we removed a queen bed out and did some cleaning. So you can imagine how much worse it was before.
In our current house, the master bedroom is in the basement. When we found out we were pregnant, I knew that we would have to move Blake out of the second bedroom downstairs so the new baby could be close to us. The big question was whether to move Blake into the spare room, or move her into Will's room. On a whim one day, I decided to move her into Will's room.
I knew as a parent that it would be easier to keep them in separate rooms. They both don't seem to sleep very well unless they are in their own rooms. However, I felt it would be good for them to share for a little while. Plus, if I put them in the same room, then it left the spare room to turn into a toy room. This idea really appealed to me because I wanted their bedrooms to be the place where the sleep and get dressed. And hopefully (crossing my fingers) having a toy room will keep the toys a little more contained and not have them constantly scattered throughout several rooms.
Sharing a bedroom has been quite an adjustment. Instead of both kids quiet and asleep between 8pm-8:30pm, there is talking, screaming, crying, things being thrown, running around, etc. It is quite a circus once the parents retire downstairs. They have been sharing a room for a few months, and it hasn't gotten much better. It was also Blake's first time in a toddler bed, so that was kind of a double transition for her. Even though it has been difficult, I am happy with the arrangement and think it is good for the kids.

Several weeks after we moved Blake upstairs, I decided it was time to get started on the toy room. I'm talking full room overhaul.

I started by emptying the room and ripping out all of the old baseboards. These baseboards weren't quite as difficult as our pantry ones, but it wasn't an easy job. They were wedged in pretty tight and it was hard to get them away from the carpet.
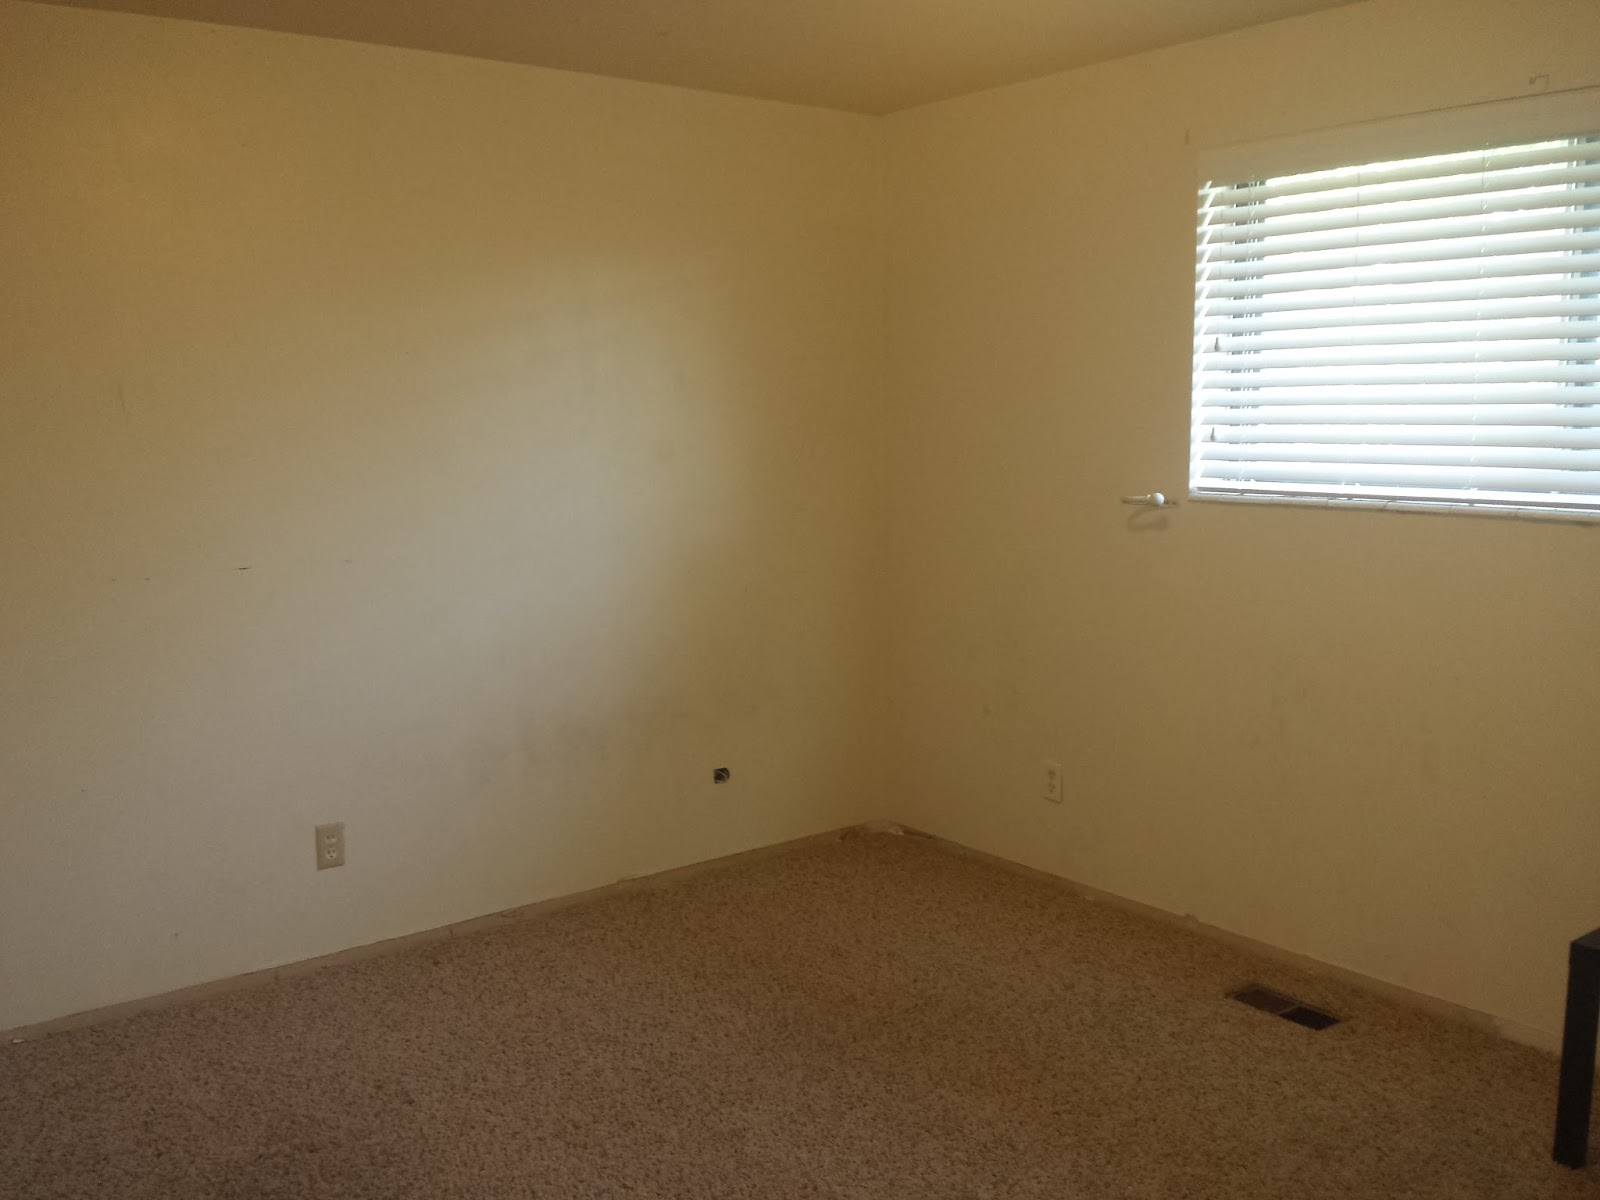
After a couple of hours with a hammer and pry bar, all of the baseboards were gone and I was ready to paint. Choosing paint colors was the hardest part of the entire job. I couldn't decide what I wanted. First I thought I would make it more girly and it could eventually be the girls' room. But then I ended up doing what I had planned for Will's room. I think we will use it as a toy room for a few years, then Will can move over and it can be his room.
While the paint was drying, I updated all of the old tan electrical outlets with new white ones, and I updated our light switch.
Then I started working on the baseboards and trim. I had learned a lot from Lance while doing our living room and I felt pretty confident that I could do it alone. So one day while Lance was at work, I did the baseboards. And so you can fully appreciate what that entails:
     -First I have to prime all of the wood. 
     -After it dries for several hours, I have to paint the boards. 
     -Once that is dry, I have to carefully cut each board so that it fits perfectly.
     -Then I nail them into the wall.
     -After the entire room was finished, I have to go back and spackle/putty all of the nail holes.
     -Once the putty is dry, I sand it down so that it is smooth and blends in.
     -Then I touch up the paint around every nail hole.
     -Then I caulk the edges. 
     -The caulk smears quite a bit, so once the caulk is dry, I had to repaint all the edges.
It isn't difficult, but it is definitely a process and time consuming. And because of all the waiting for different parts to dry, it takes several days/weeks.

Here is what our door looked like before.

Here is the door after I ripped out trim, painted, and replaced the light switch.

And to complete the look, I added trim, replaced the door with a newer style, and added new hardware. What a difference!
Similar with the closet. Here is the before.

I trimmed out the entire closet, put a fresh coat of paint on the doors, and added new hardware. I love the difference a little bit of trim makes.
I also wanted to add trim to the windows and get rid of the tile along the bottom.
I watched a few tutorials on YouTube and learned the most effective way to get the tile out.

So here is the window before. Plain, boring, nothing special. 
And this is what it looks like now. It makes such a statement, and I love how it turned out. 
Here is a closer view. 
Once the entire room was finished with baseboards, trim, paint, etc. it was time to work on some decorations. 

I went to Lowe's and found some cheap scraps of wood and made this railroad track to go across the bottom of one of the walls. I bought some wood for the sign, painted it, and had some vinyl cut to make the "railroad crossing" sign. 

I designed the room to have one of the walls be an "art station". I wanted a large chalkboard. They can be pretty pricey, so I decided to make one myself. I also wanted it to be magnetic, so I bought a large sheet of metal, painted it with chalk board paint, attached it to a board, then made a frame to go around the edges. 

Here is a picture of the first half of the room.
For the other half of the room, I wanted to build a little grocery store for the kids. I saw this link on Pinterest and knew it was something I could handle. 
The kids were so excited about The Market and could not wait until I finished so they could play. They immediately got some grocery bags and started filling their carts with their toy food and pretending to shop. 


Lastly came organizing the closet. Before, it was my craft area and spot to put anything I didn't want out. It wasn't exactly the easiest spot to sew or do any real "crafting". 


I moved all of my junk out and gathered all of our toys throughout the house and tried to find a place for them in the closet. 

We spent the day organizing and finishing up some last minute details. Here is the completed room.


We got some chalk and let the kids loose on their new toy room. 

So far, they are loving it. (Notice the awesome train that Will drew.)

Wednesday, February 4, 2015

Aggie T-Shirt Quilt

We have this old quilt that we use almost daily while we are watching tv. It is probably Lance's favorite blanket, and it shows. It is slowly ripping and getting filled with holes. Before his last birthday, Lance made it pretty clear that a new blanket was something that he would really like, either for his birthday or for Christmas.

During our years at Utah State, we accumulated quite a few t-shirts, and I knew that one day I wanted to make a t-shirt quilt out of them. I decided that this was the year and that it would be a nice gift for me to give to Lance.

I spent a lot of time scouring Pinterest and the internet, looking at different ideas. Every t-shirt quilt is slightly different, and I wanted something that looked clean, had crisp lines, and was not supper cluttered and disorganized. I wasn't a huge fan of the super colorful, highly random and chaotic ones.

So one weekend while Lance had to go to Boise for a work trip, I headed up to Logan to spend some time with Scott and Sharon and to get started on this quilt. I needed a few more shirts to get the right sizing and colors that I was going for. Then we hit almost every fabric shop in town trying to find the perfect accents to go with it.

Back at the house, I attempted to design and layout the quilt. This was BY FAR the hardest part. It was tough not only deciding where each shirt should go in relation to each other, but it was difficult to know exactly what size to do each shirt (as I wasn't doing uniform squares). I had to measure everything about 200 times, trying to get everything to line up perfectly.
Then the sewing began.

One by one each piece started to come together. I made a ton of progress and got a great start that weekend while Lance was gone. I never could have done with without Sharon and Scott helping with the kids while I basically tuned everything out except working on this. I'm afraid I was a terrible guest.
 One I had all the individual pieces finished, I started sewing the rows together, and adding a border in between them. *I had more pictures of the process, but they were deleted as I was afraid that Lance would look at my phone and see them.*

A miracle happened, and the pieces all lined up beautifully. I got a bit tired of measuring over and over again, so I ended up just guessing on some of the pieces. So it truly was a miracle that they lined up so perfectly. I had finished this part of the quilt faster than I had anticipated, so I decided to add a fun border along the edge, incorporating some of the trim used to outline the squares.

Then I decided to be insane and I hand quilted the entire thing. I did every border, all of the letters, the bull, etc.

Then I added some batting and a piece of material to go on the back. It took me anywhere from 2-4 hours per square to hand quilt, so it was quite the project. But when I get started on something, I get a bit consumed with it. I would spent about 6 hours a day working on this, and I managed to finish it before his birthday. I turned some music on, and the kids played around me while I worked. It was actually a lot of fun and make the days go by super fast. I really wanted to give it to him then, but I decided to hold off until Christmas.
This is one of those few things that I truly feel proud of. I actually took the time to make it look nice and I am super pleased with how it turned out.
 Go Aggies!


Friday, February 15, 2013

Recent Projects

It appears that I get the "crafting bug" while I am pregnant. For me, it's one of the best ways to pass time while also preparing a few things for the baby. It came as no surprise that there were about 4 times as many crafts/ideas to do for little girls as opposed to little boys.

With Will, most of my crafting was focused on his nursery...making, blankets, etc. But with baby girl, I've done a lot more accessory type things. It's definitely given me something to do and really helps get me more excited for her to come.

Here are a few of the things I have been working on the past few months:

My first project I did was to make this blanket. It's often referred to as a bubble quilt or a biscuit quilt. It was very time consuming and I spent  many hours on it. Though I made a massive mistake (which most people wont notice hopefully cause it's on the backside), I'm happy with how it turned out.
I've also been making some skirts for her to just wear around. I have never really seen little babies in skirts, but thought it would be fun to throw one on her every once in a while. Fun way to dress up a onesie while just chillin' at home.


I've had some fabric lying around forever and wasn't sure what to use it for, so I decided to make a new carseat canopy.

I love seeing little babies with bracelets, so I had to make some bracelets. You can't just make one...so I made quite a bit. And I have a ton of beads still, so if anyone wants one, let me know. And it's hard to tell, but each of these are different colors.
And if you know me at all, you know that I love little girls in headbands and flowers. Might have got a bit carried away with the flower making, but I've had fun experimenting and trying different styles.
I made all of the flowers with little clip/barrett attachments so they can be attached to any headband. That way I can exchange them as needed and make them much more versatile.

And finally, this hat was made for a friend, but I like it so much I wanted to post it. I've been debating whether to make another one for my baby, but figure she already has enough hats and hopefully warm weather will come sooner rather than later.

Well, I think that covers most of the projects I've been working on. Definitely getting anxious to be able to use them! 


Wednesday, January 16, 2013

Crochet

About a month or two ago, a ran into a blog of a friend who is really good at crocheting. Her blog has some links for tutorials and other tips, and I decided it was something I wanted to learn.

Now, I had crocheted a bit when I was pregnant with Will. I made his blessing blanket, but it was terrible. I wanted to learn how to actually follow patterns and make something decent.

After watching many YouTube videos, I attempted my first real hat (not using a loom).
I was able to to follow the pattern and I think it turned out great for my first one! Unfortunately, it wasn't a very good pattern and the hat is very short and doesn't really cover Will's head. But it was a good start and I knew it would be an easy adjustment for the next time.

There is something really exciting about trying something new and seeing a project form before your eyes. There are moments when I'm just not sure how it's going to work, then suddenly it's finished and actually looks like it is supposed to.

I've become a crocheting madwomen. I love it for so many reasons:
1- It gives me something to do when I am bored and need to pass the time.
2- It's a fun and cheap gift!
3- It keeps me distracted and takes my mind away from my stomach aches.

Here are some of the different projects I have been working on:

I have made me a few pair of boot cuffs. Here is an example of what they look like.
 I made Lance this USU hat as well as a hat that looks like a football.
 I've made several hats for our little girl.

Matching sock monkey hats for Will and baby girl.

With some inspiration from a variety of other hats, I came up with this design. Lance wore it to class once and had a guy from USU football team ask if I would sell him one.
 
So I made another one, but a larger size and with larger horns.

He also requested to have his number on the side.
 I was pretty proud of this hat, and somewhat see it go. Lance just got a text from that player saying that 5 other players would like one also. I haven't decided if I'm going to make them or not, as they are extremely time consuming.

 Here is a little puppy hat I made my nephew for Christmas.
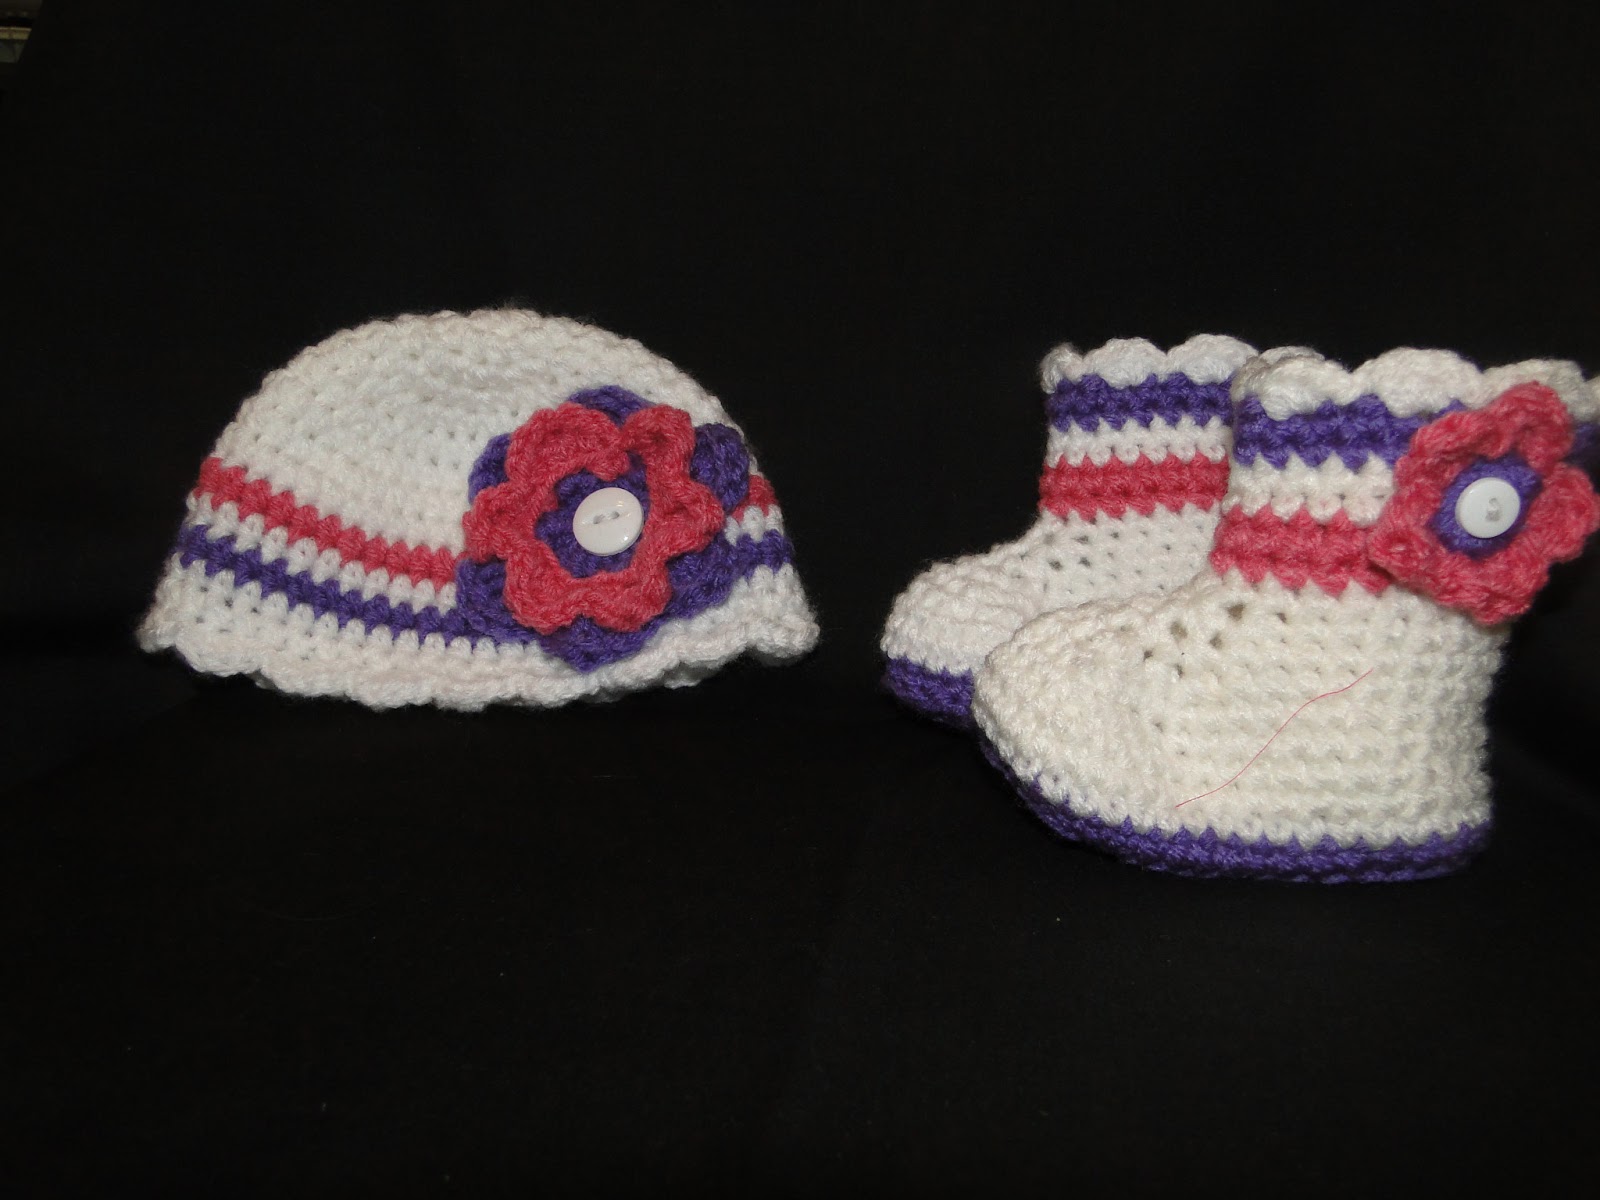
Made a hat and boots for my little niece.

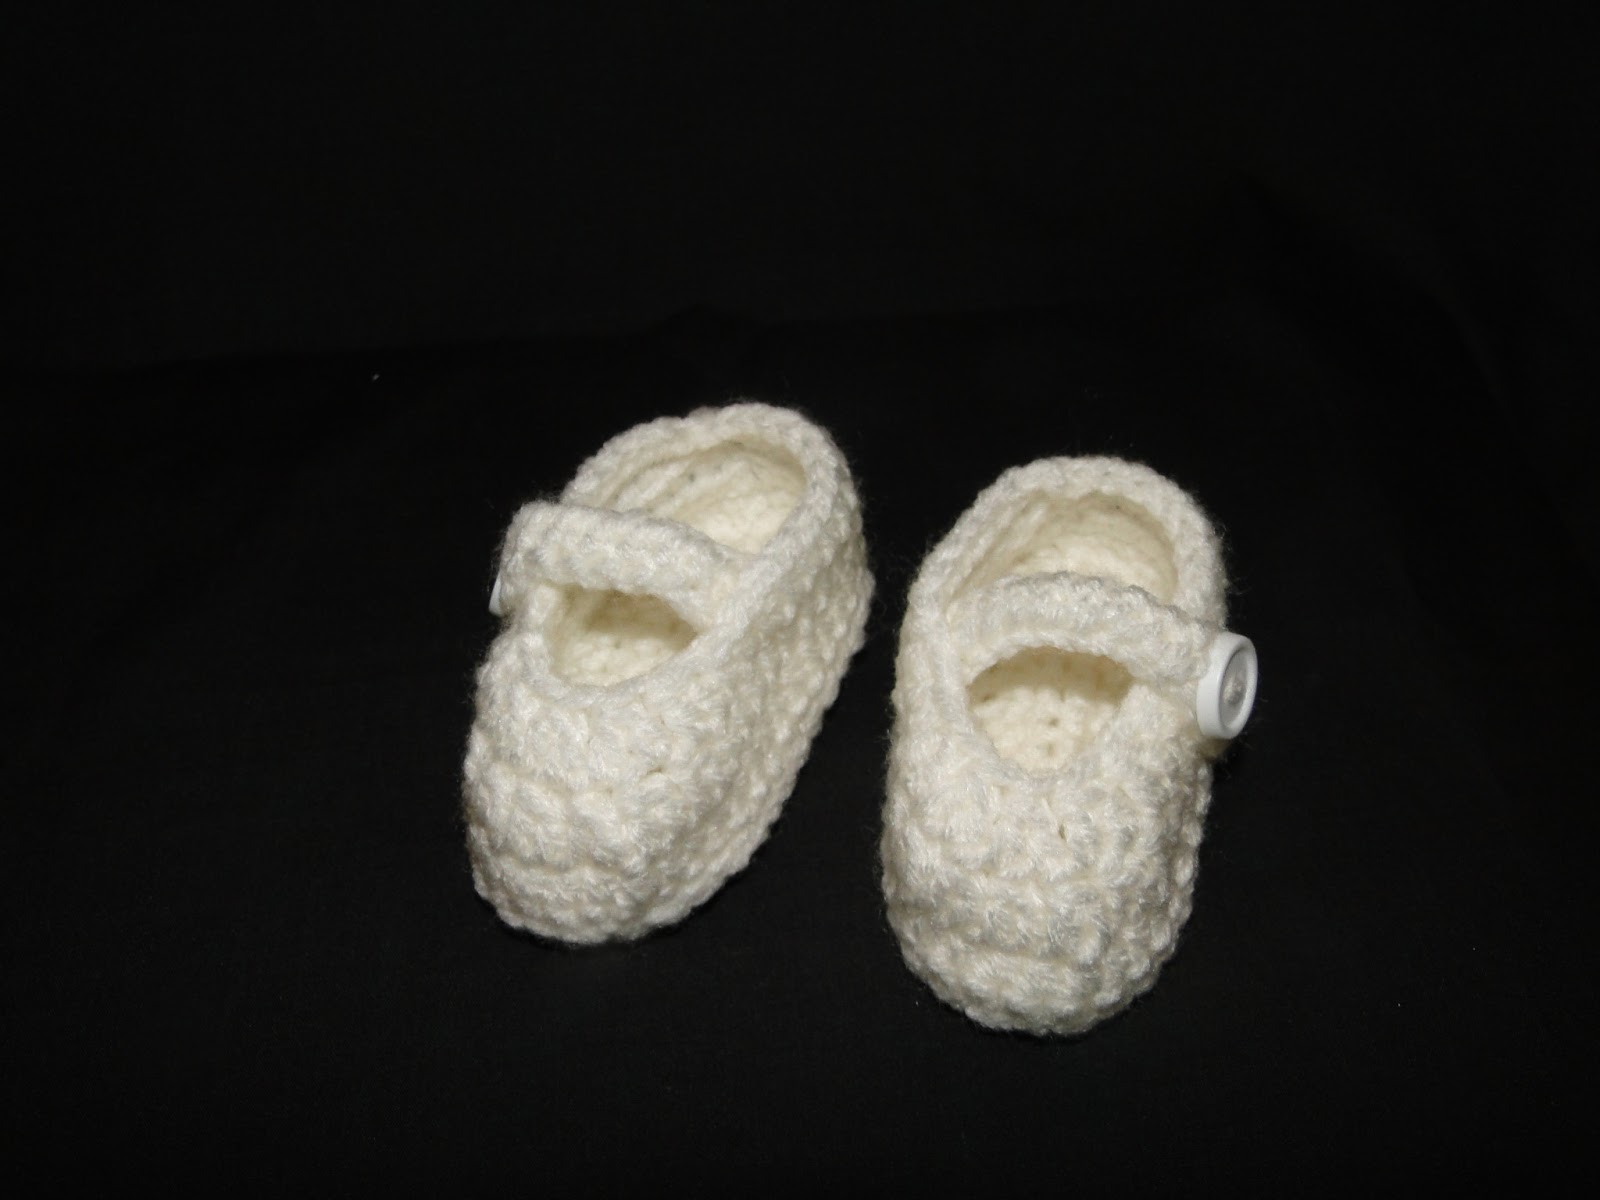
 After I got a little sick of hats, I decided to venture out a little and make different baby booties/shoes.
I designed this matching set to go with a little outfit I made.


 I really hope these sandals will be big enough for the summer. Aren't they adorable?!
 And of course I had to make some headbands.
As you can see, I've been having some fun.

Check out theworstedcrochetblog.blogspot.com/  for some tips and free patterns!