Showing posts with label Our House. Show all posts

Tuesday, May 17, 2016

Bedroom Update - Decorating

*If you missed the post about the construction, click HERE.

Now that the construction part of the room was finished, it was time to decorate! It wouldn't have taken so long if I wasn't so indecisive. I went in several stores and discovered pretty quickly that I was not going to find a bed spread that I liked that would match the room. So I started scouring fabric stores, looking for something that I liked. 
Finally, I found two that I really liked. And they even looked decent together. To prevent myself from having to make a decision, I got both fabrics and just made the comforter reversible. Yay!
I also made some throw pillows to go on Blake's bed.
Once the room was finished, it also became very clear to me how much I hated the kids dresser. The color clashed terribly with the new pink walls and it bugged me to no end. My neighbor has painted tons of furniture so I enlisted her help. She came up with the idea to do ombre drawers, and she told me how to do it.
The dresser took me way longer than I thought it would. I'm not sure why I always think it'll go fast because it never does. I took off all of the hardware so I could paint the base of the dresser white.
Then I painted the drawers.
I also added some fabric to the sides of the drawers to add just a little something extra.
When I was finished, I decided I wanted to do the top glittery gold. For whatever reason, this was the hardest part of the entire thing. I had to redo it about 4 times. Either the paint was patchy, lots of air bubbles, or just a ugly color. Finally I ended up finding a color that I was happy with. Then I added some new hardware, painted the same as the top, and it was good to go!

Before and after of the dresser:

I also painted a mirror that we had and placed it on top of the dresser. I am so proud of how the dresser turned out. I wasn't sure how it was going to go, as it was my first time really tackling furniture. I'm a bit obsessed with it, and it may have given me the bug to refinish more furniture in the future. If only we had a garage or somewhere to do that type of work..I think it is something I would really enjoy doing with the intent of selling the products. 
It took me FOREVER to decide what accent colors I wanted. When I chose to do gold, I knew I wanted to do gold polka dot on the walls too.

Add some decorations and the room is complete! I'm in love with how it turned out.


I both love and hate finishing projects. I love seeing the final product and being able to see my vision come to life. And I hate the mess and chaos that comes with projects, so I am always happy to get my house back in order. But I love having a project to work on. By the time I'm finished, I'm both determined to never do another house project again and anxious to start on the next one. Let's be honest, I'm usually more than ready to start dreaming about the next project. 

Bedroom Update - Construction

Slowly we have been upgrading different rooms in our house and doing new baseboards and trim. After fixing the guest bedroom into the toy room, I was anxious to also get the other bedroom upstairs completed.

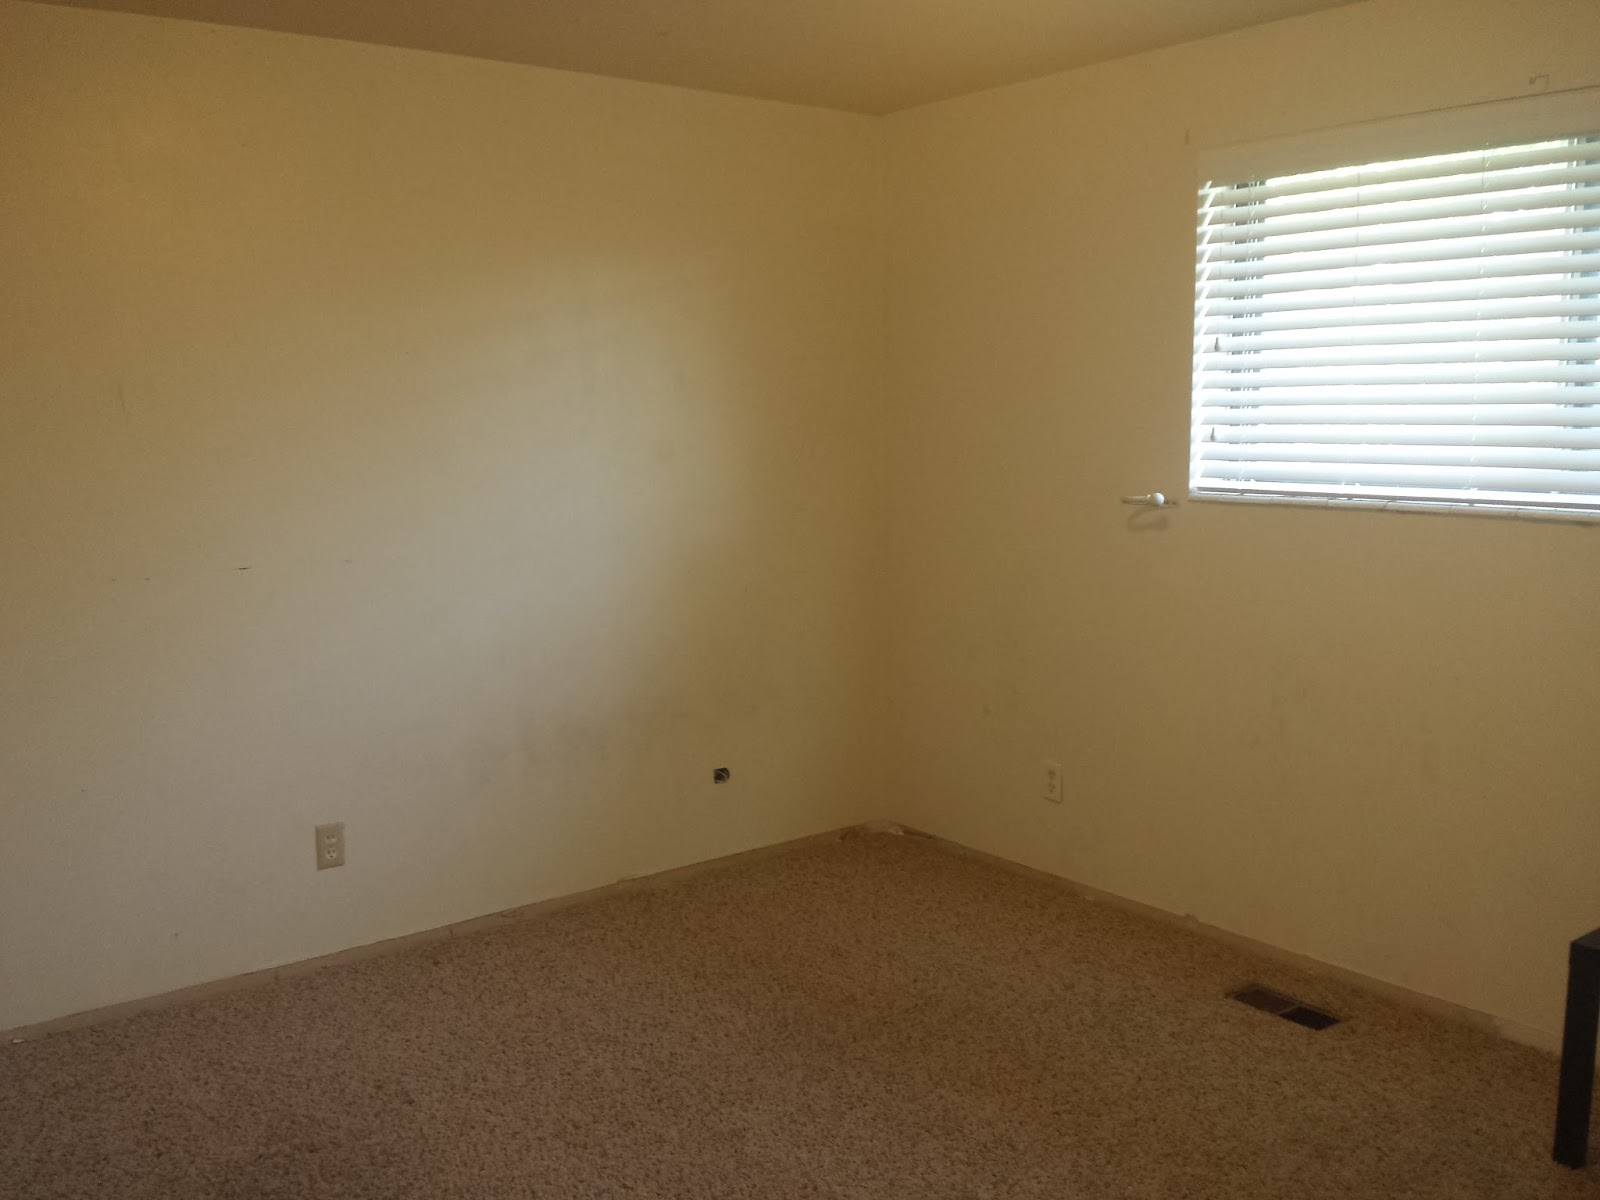
This is what the room looked like when we first moved into the house.


It had sliding by-pass doors on the closet that I absolutely hated. The tracks were old and the doors would not slide easy and they kept falling off. Plus, you can only access half of the closet at a time.

When we moved Blake upstairs to share the room with Will, we took the closet doors off completely. It allowed us to put a dresser in there and not have to deal with the hassle of the doors not working properly.


Once I finally got my design figured out, it was time to start construction. We moved everything to the center of the room and started ripping out all of the baseboards. Updating all of the electrical outlets and switches. Adding some wainscoting/board and batten. And finally, fixing that dreaded closet.


I  hated the sliding doors, but I have also never been a fan of the bi-fold doors, especially with kids. I knew I wanted french doors, but I was unsure how to go about the process. About a year ago or so, I even had a contractor come and give me a bid. He basically told me that it would be very expensive because we would have to increase or decrease the entire frame so it would fit standard doors. I wasn't ready to put that much money into it, so I put off doing the room. Then one day it suddenly occurred to me that I could just get custom pre-hung doors and that the entire process would be very easy. So I ordered the doors, and my brother-in-law Josh helped us to install it.

Then we started framing out the windows and working on the trim.


The room was a disaster. And the project took way longer than I anticipated. We threw the kids mattresses in the other room or sometimes on the living room floor. It was pretty hectic and both Lance and I felt the stress of missing that one room. I can't imagine living in a home while doing a full renovation. One room at a time is enough for us.

Doesn't that closet look amazing though?! It is one of my favorite changes about the room.

I learned a lot about doing board and batten during this one. The part that probably took the longest was figuring out the spacing. There were several spots where I was stumped on where to space the boards, especially around the windows. I ended up just doing what I thought was best, and I am very happy with how it turned out. I'm not sure if it is how the professionals would have done it, but it looks good to me, so I guess that's all that matters.


It didn't quite look "complete" so I added a small board to create a lip at the top. It really finished the look. You can see the part to the left of the window is plain, and to the right has that extra board on top.


With so much trim and wood nailed to the wall, there were a ton of nail holes to fill. 
Not to mention all of the caulking!

I had bandaids on most of my fingers. Often when I went to smooth the caulk, it would leave a trail of blood behind with it. It was not pleasant. At this point, I still had an entire wall left to do. It took me days and I was so happy when I finally finished. 

After caulking, it was finally time for some paint. I was a little worried, because the room wasn't turning out how I had envisioned. I kept telling myself to keep going and that it would look better once it was finished. But boy was I worried and a bit upset. With all the effort I had put into it, there was no way I was going to stop and start over, so I was prepared to be a little unhappy with it. Thank goodness I was wrong. What I difference a little bit of paint can make.

And suddenly it was time to pick out the color for the top. I originally planned on going with a super light, soft pink. Not too much more than white, but just enough to have some color on the wall. Then I found this "Coral Perfection" at the store, and decided to give it a try. Based on the small sample I tried, I really liked it and decided to go with it.

Once I had the entire room painted, it was a bit darker than I intended, and not quite the shade of pink I was going for. I liked the color, but I had been expecting something a little different. I chose to leave it and adjust my design a little bit. 

And here is a before and after. 
Now it was time for the really fun part. Decorating!

Click HERE to see the final reveal.

Saturday, August 1, 2015

Junk Room to Toy Room

Once upon a time, we had a guest bedroom upstairs. We rarely have guests, so the room somehow morphed into a junk/catch all type of room. And. It. Was. Bad. The picture below was taken after we removed a queen bed out and did some cleaning. So you can imagine how much worse it was before.
In our current house, the master bedroom is in the basement. When we found out we were pregnant, I knew that we would have to move Blake out of the second bedroom downstairs so the new baby could be close to us. The big question was whether to move Blake into the spare room, or move her into Will's room. On a whim one day, I decided to move her into Will's room.
I knew as a parent that it would be easier to keep them in separate rooms. They both don't seem to sleep very well unless they are in their own rooms. However, I felt it would be good for them to share for a little while. Plus, if I put them in the same room, then it left the spare room to turn into a toy room. This idea really appealed to me because I wanted their bedrooms to be the place where the sleep and get dressed. And hopefully (crossing my fingers) having a toy room will keep the toys a little more contained and not have them constantly scattered throughout several rooms.
Sharing a bedroom has been quite an adjustment. Instead of both kids quiet and asleep between 8pm-8:30pm, there is talking, screaming, crying, things being thrown, running around, etc. It is quite a circus once the parents retire downstairs. They have been sharing a room for a few months, and it hasn't gotten much better. It was also Blake's first time in a toddler bed, so that was kind of a double transition for her. Even though it has been difficult, I am happy with the arrangement and think it is good for the kids.

Several weeks after we moved Blake upstairs, I decided it was time to get started on the toy room. I'm talking full room overhaul.

I started by emptying the room and ripping out all of the old baseboards. These baseboards weren't quite as difficult as our pantry ones, but it wasn't an easy job. They were wedged in pretty tight and it was hard to get them away from the carpet.
After a couple of hours with a hammer and pry bar, all of the baseboards were gone and I was ready to paint. Choosing paint colors was the hardest part of the entire job. I couldn't decide what I wanted. First I thought I would make it more girly and it could eventually be the girls' room. But then I ended up doing what I had planned for Will's room. I think we will use it as a toy room for a few years, then Will can move over and it can be his room.
While the paint was drying, I updated all of the old tan electrical outlets with new white ones, and I updated our light switch.
Then I started working on the baseboards and trim. I had learned a lot from Lance while doing our living room and I felt pretty confident that I could do it alone. So one day while Lance was at work, I did the baseboards. And so you can fully appreciate what that entails:
     -First I have to prime all of the wood. 
     -After it dries for several hours, I have to paint the boards. 
     -Once that is dry, I have to carefully cut each board so that it fits perfectly.
     -Then I nail them into the wall.
     -After the entire room was finished, I have to go back and spackle/putty all of the nail holes.
     -Once the putty is dry, I sand it down so that it is smooth and blends in.
     -Then I touch up the paint around every nail hole.
     -Then I caulk the edges. 
     -The caulk smears quite a bit, so once the caulk is dry, I had to repaint all the edges.
It isn't difficult, but it is definitely a process and time consuming. And because of all the waiting for different parts to dry, it takes several days/weeks.

Here is what our door looked like before.

Here is the door after I ripped out trim, painted, and replaced the light switch.

And to complete the look, I added trim, replaced the door with a newer style, and added new hardware. What a difference!
Similar with the closet. Here is the before.

I trimmed out the entire closet, put a fresh coat of paint on the doors, and added new hardware. I love the difference a little bit of trim makes.
I also wanted to add trim to the windows and get rid of the tile along the bottom.
I watched a few tutorials on YouTube and learned the most effective way to get the tile out.

So here is the window before. Plain, boring, nothing special. 
And this is what it looks like now. It makes such a statement, and I love how it turned out. 
Here is a closer view. 
Once the entire room was finished with baseboards, trim, paint, etc. it was time to work on some decorations. 

I went to Lowe's and found some cheap scraps of wood and made this railroad track to go across the bottom of one of the walls. I bought some wood for the sign, painted it, and had some vinyl cut to make the "railroad crossing" sign. 

I designed the room to have one of the walls be an "art station". I wanted a large chalkboard. They can be pretty pricey, so I decided to make one myself. I also wanted it to be magnetic, so I bought a large sheet of metal, painted it with chalk board paint, attached it to a board, then made a frame to go around the edges. 

Here is a picture of the first half of the room.
For the other half of the room, I wanted to build a little grocery store for the kids. I saw this link on Pinterest and knew it was something I could handle. 
The kids were so excited about The Market and could not wait until I finished so they could play. They immediately got some grocery bags and started filling their carts with their toy food and pretending to shop. 


Lastly came organizing the closet. Before, it was my craft area and spot to put anything I didn't want out. It wasn't exactly the easiest spot to sew or do any real "crafting". 


I moved all of my junk out and gathered all of our toys throughout the house and tried to find a place for them in the closet. 

We spent the day organizing and finishing up some last minute details. Here is the completed room.


We got some chalk and let the kids loose on their new toy room. 

So far, they are loving it. (Notice the awesome train that Will drew.)